Sega Master System Model 2 Switchless Region Mod Install Guide

This guide will show you how to install a switchless region mod into a Sega Master System model 2 which will allow the console to switch between 50Hz and 60Hz video output.

Mod Pinout

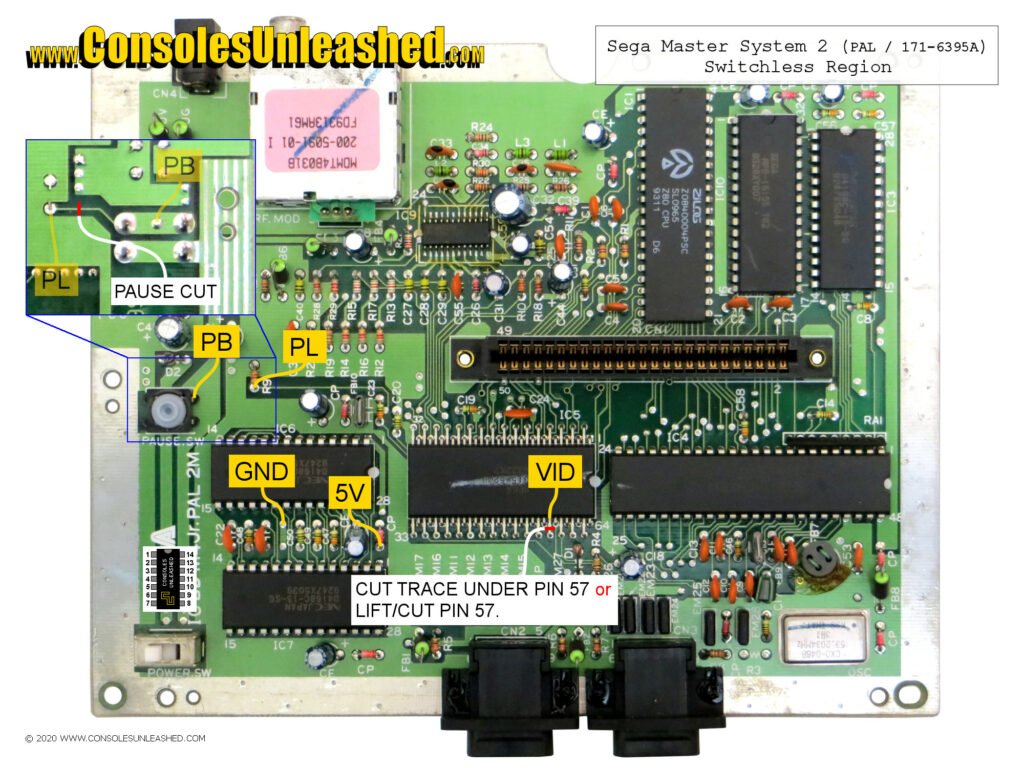
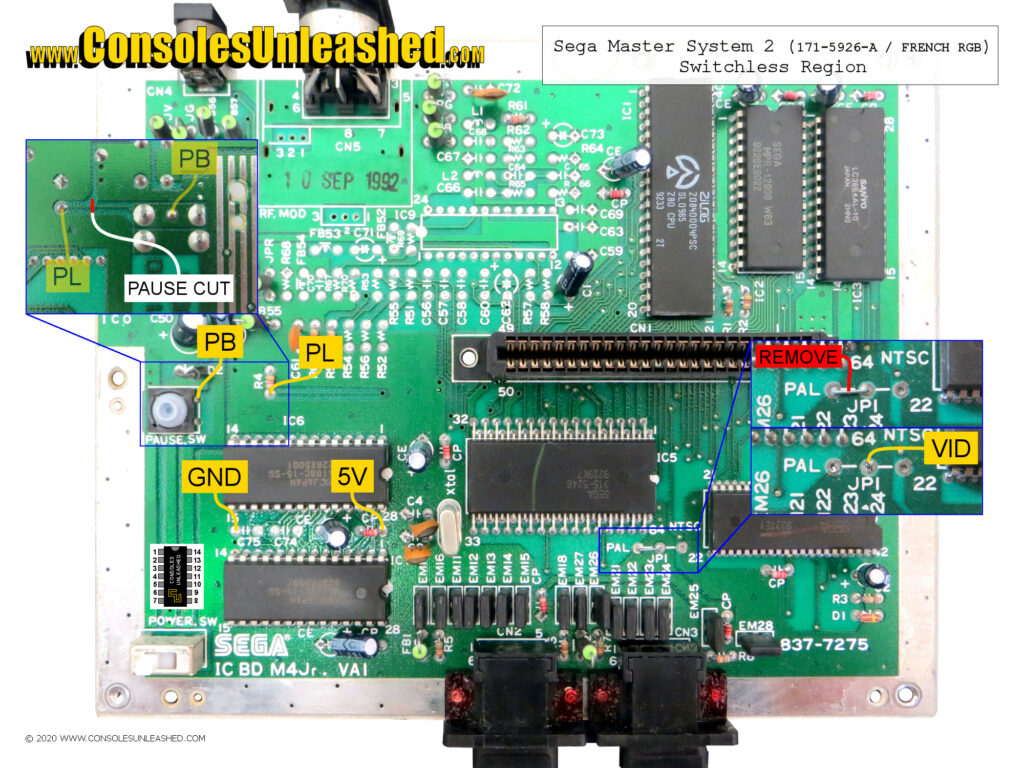
Solder Map

Sega Master System 2 – PAL / IC BD M4jr / 171-5922-A
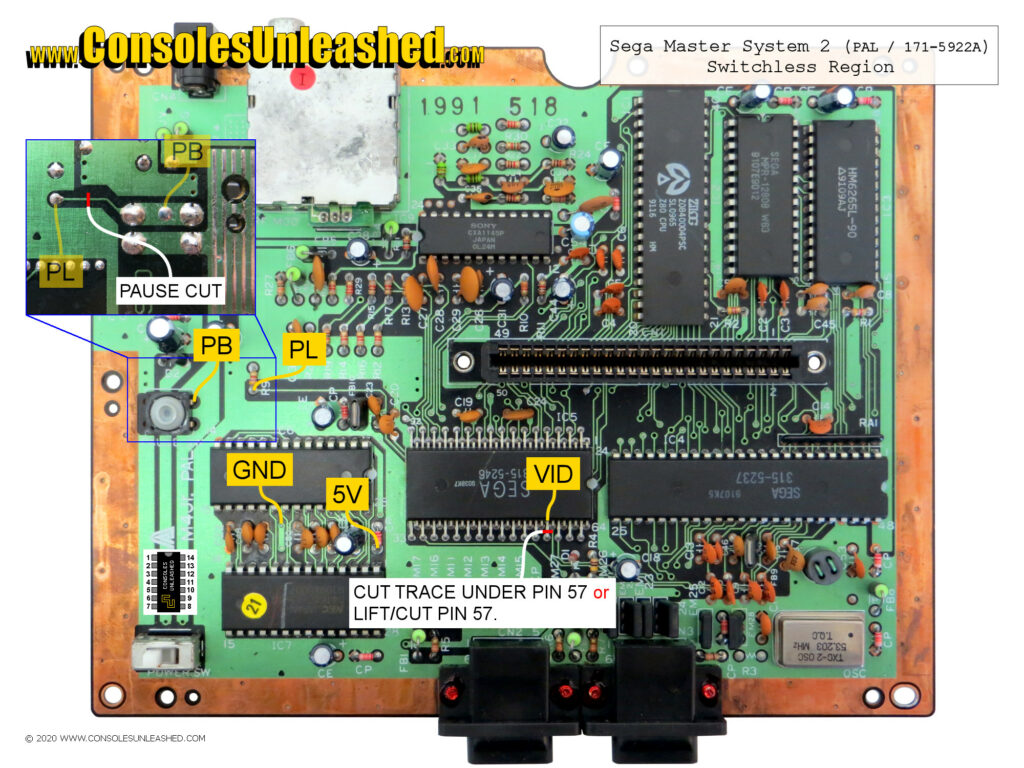
Sega Master System 2 – PAL / IC BD M4 Jr PAL 2M / 171-6395A
Sega Master System 2 – PAL / French RGB / IC BD M4Jr. VA1 / 837-7275 / 171-5926-A
Samsung Gamboy 2 – NTSC / ICBD M4JR KOREA / 837-8071 / 171-6117

Coming soon.

Step-by-Step Install Guide

Step-by-step guide for installing the Consoles Unleashed Sega Master System 2 switchless region mod with built in LED. Check the solder map section first and use that as the main guide. The step-by-step is using the PAL 171-6395A revision and some steps may not be relevant to other revisions.

Trace Cuts

Two trace cuts are required. Pause button trace cut and the video rate trace cut. The pause trace cut allows the mod kit to intercept the active pause signal and either output it back to the pause line to pause the system, or change the video rate. The video rate cut is required to remove a permanent connection to the video rate selector pin so it can be controlled by the mod kit.
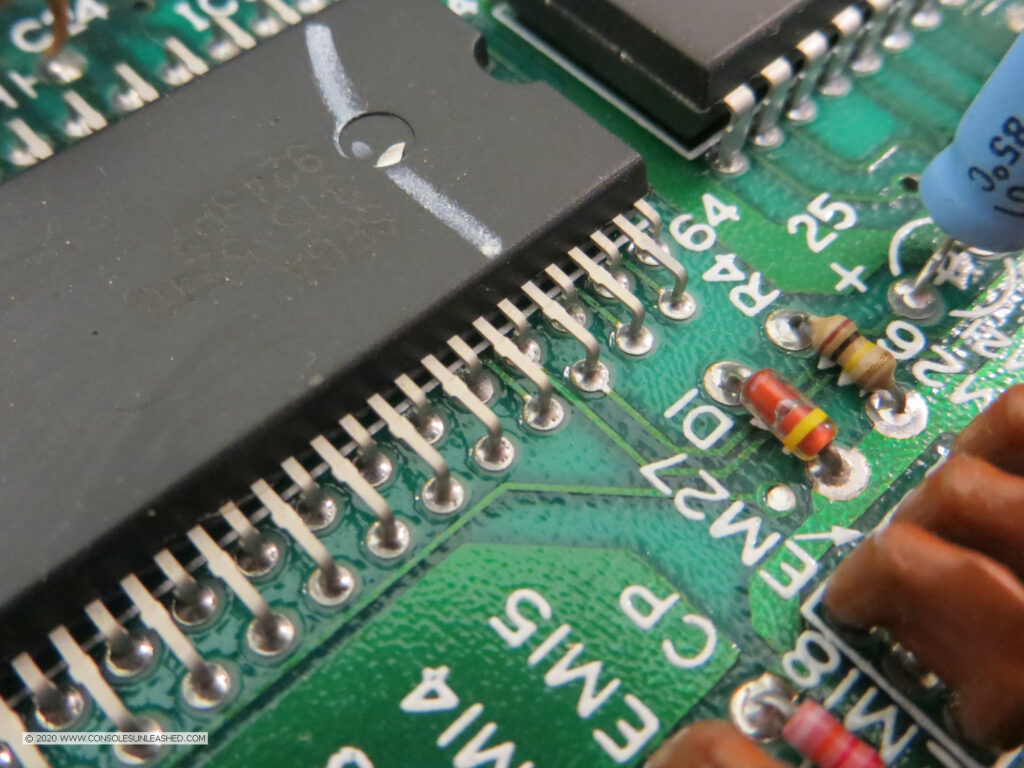
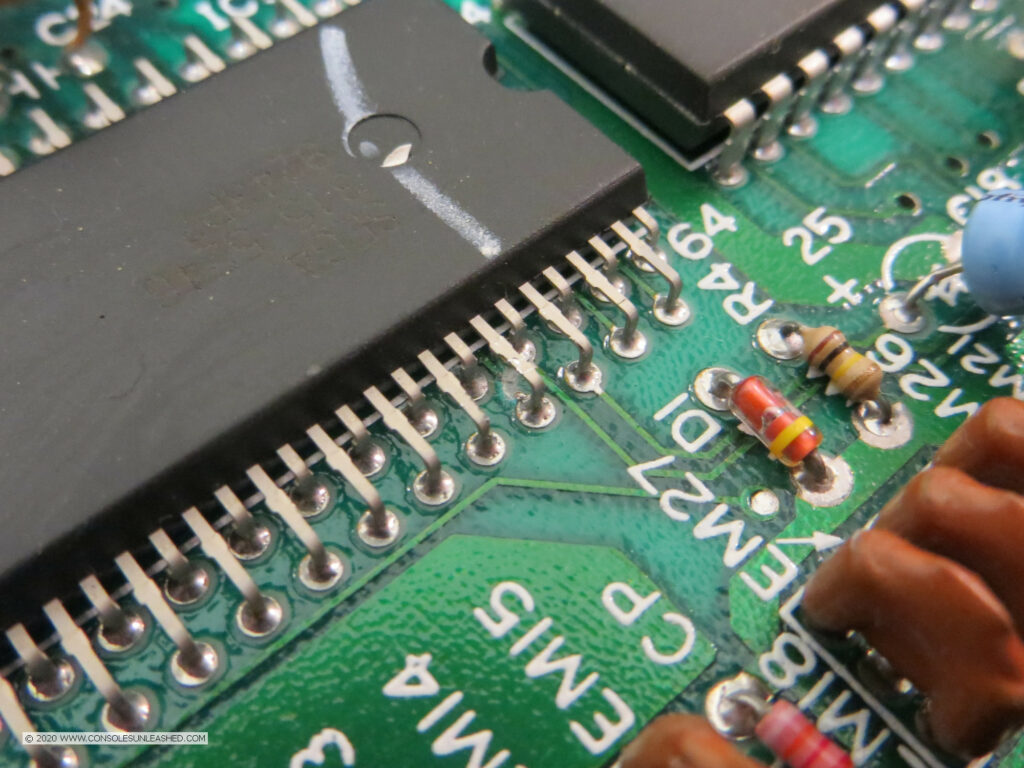
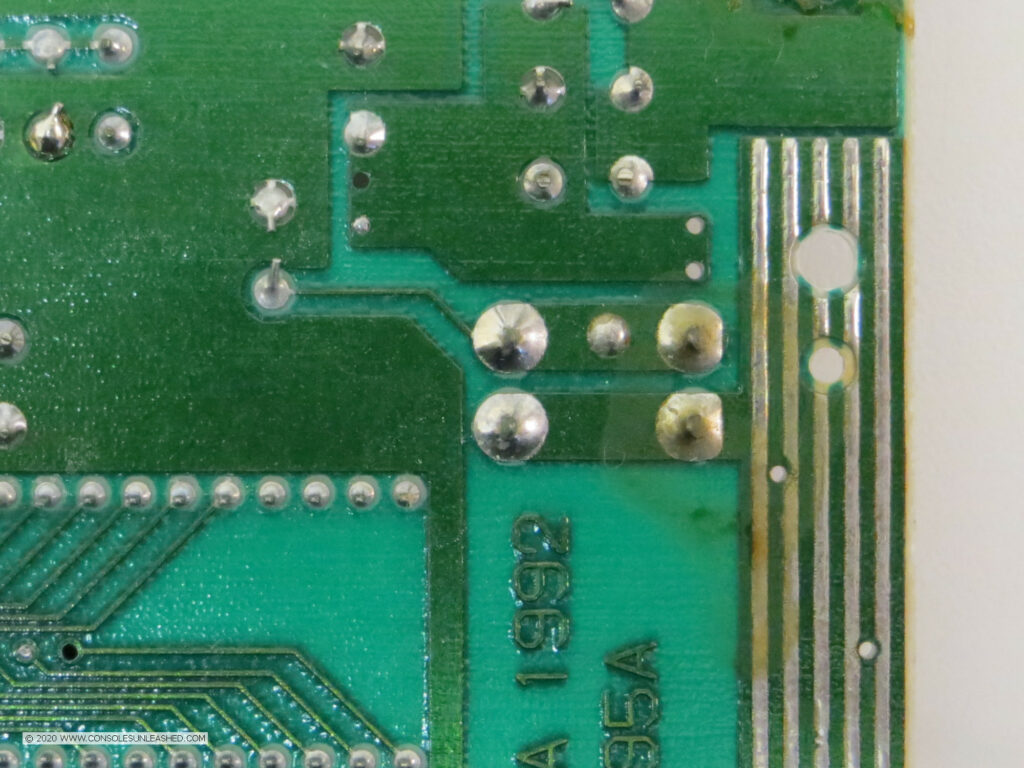
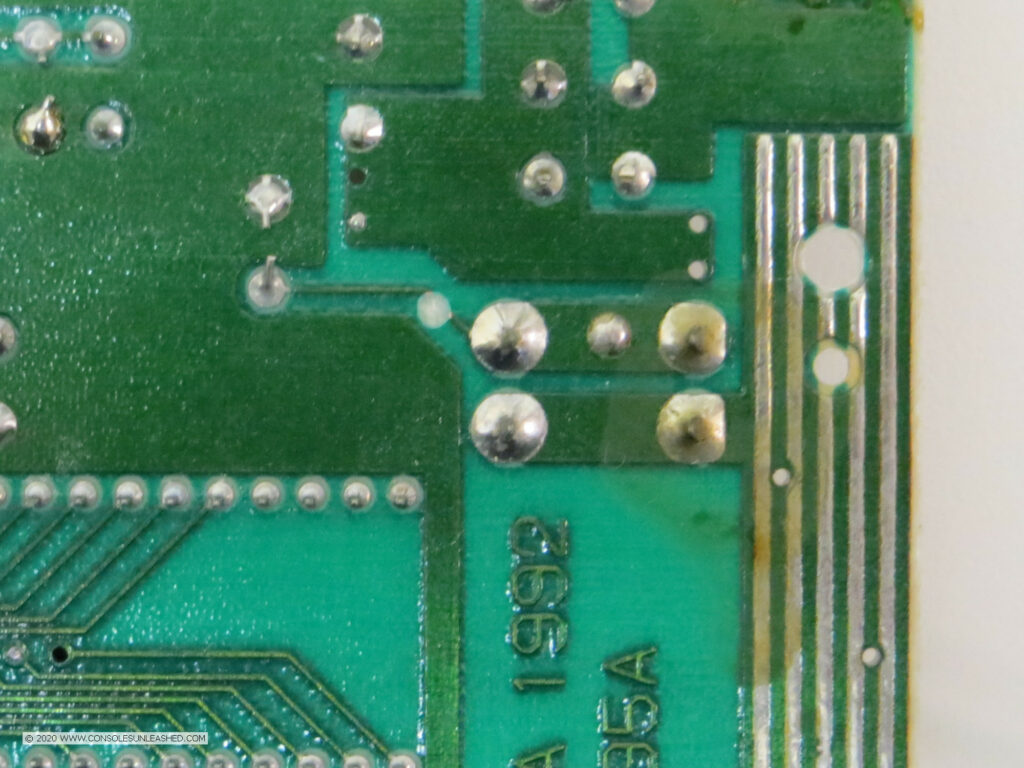
Identify Pin 57 of IC5 which is the PAL/NTSC selector pin of the Video Display Processor.
Cut the trace that runs below Pin 57. This will break the supplied 5V connection that puts the console into 50Hz mode.
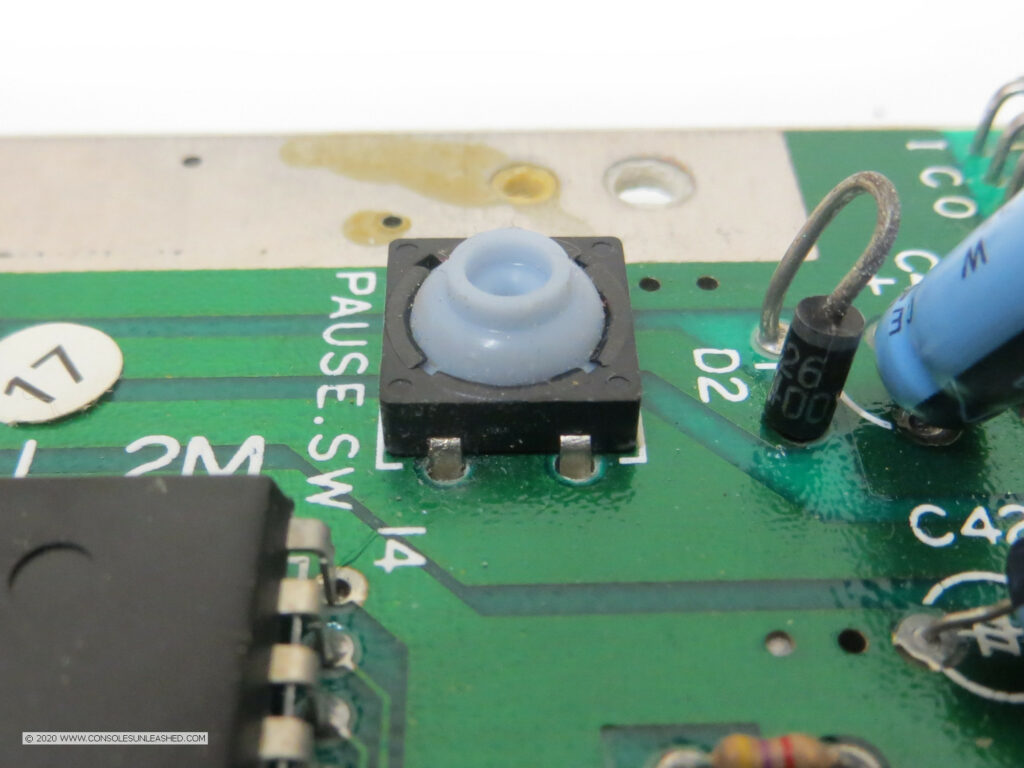
The pause button footprint.
Cut the trace that runs from the pause button.

Mod Kit Placement

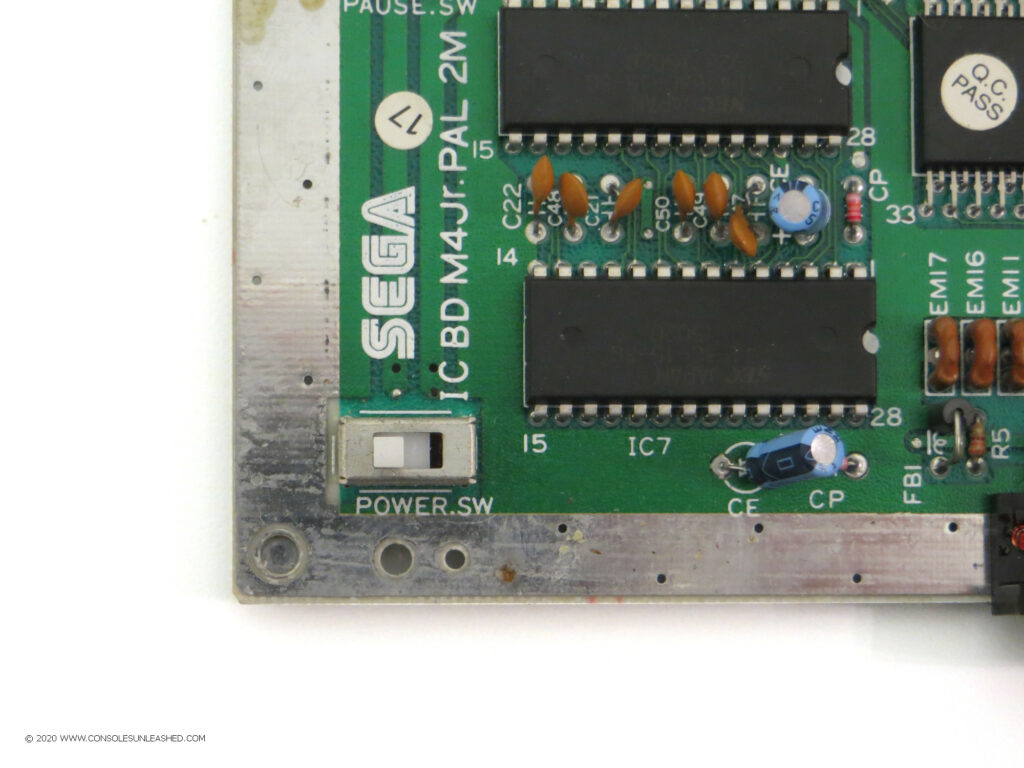
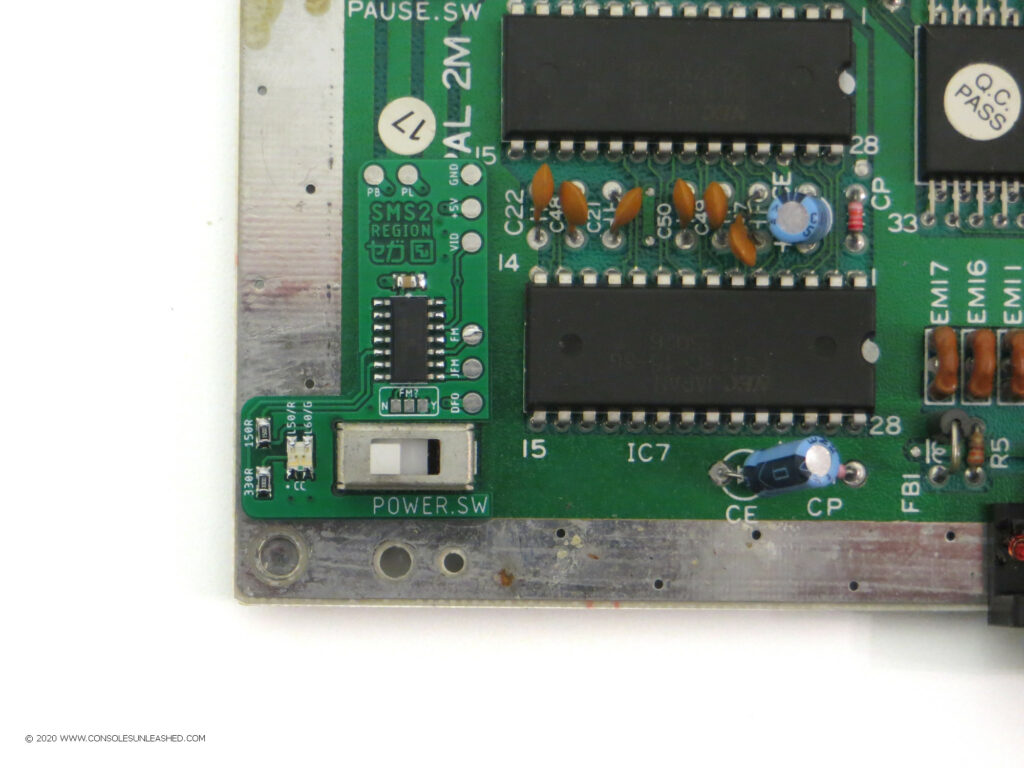
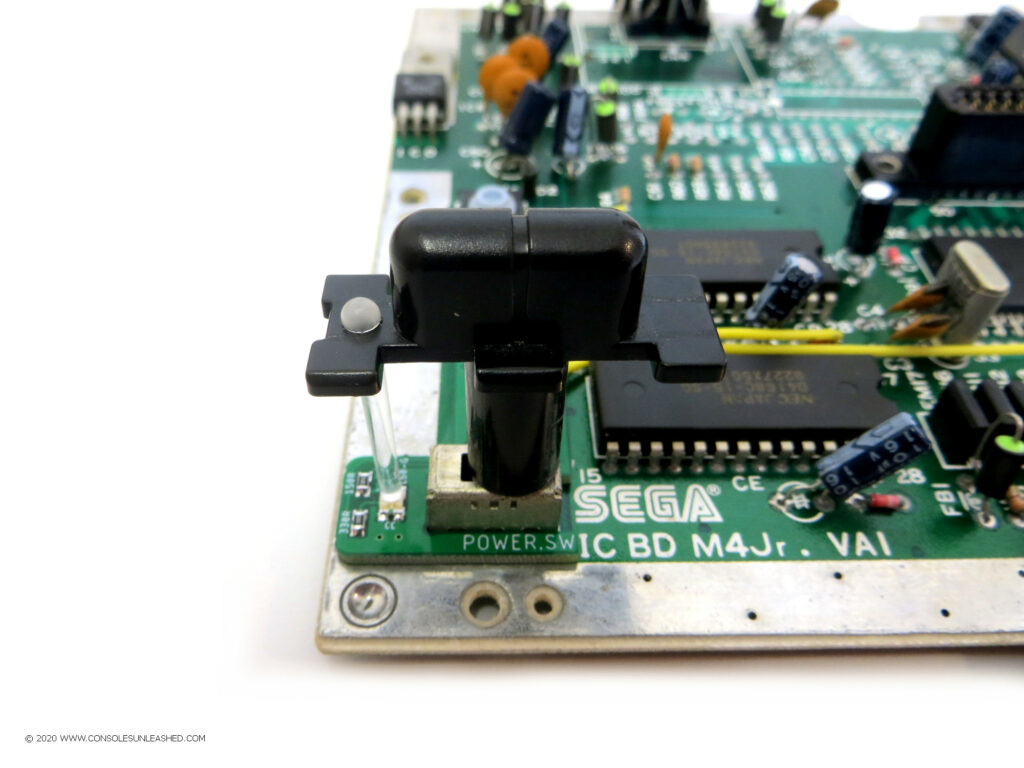
The switchless region mod-board will be placed around the power switch.
Remove the tape from under the mod-board and press down into position.

Wiring

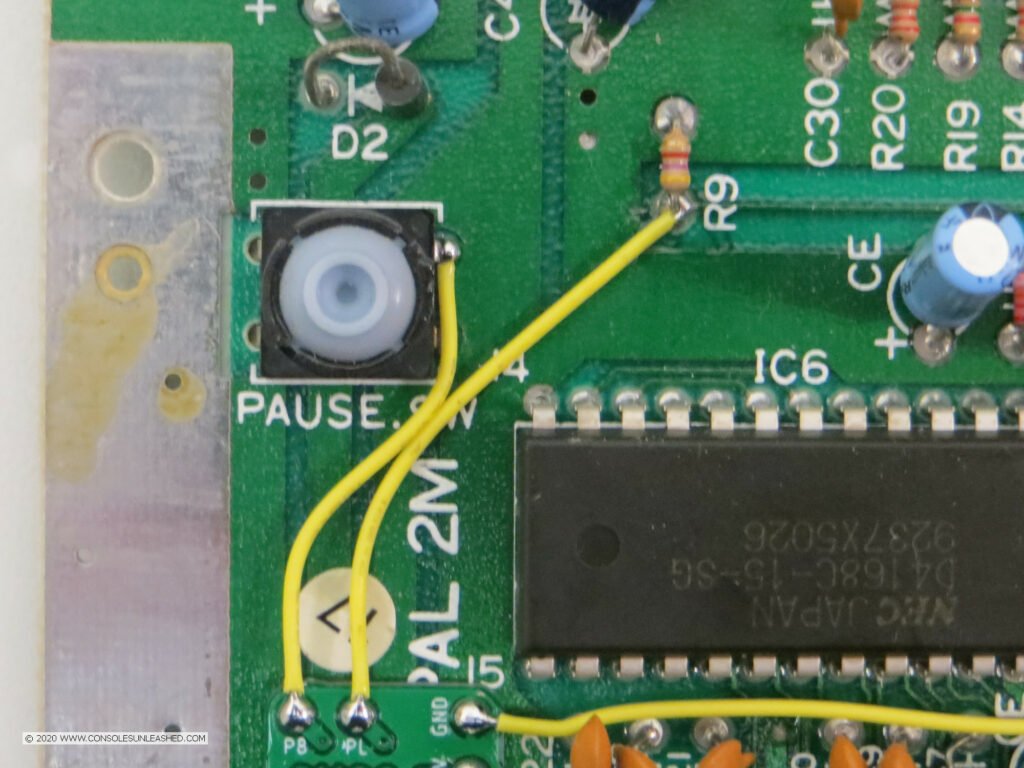
Prepare the pause button pin for soldering by roughing it up with a fibreglass pen, cleaning it with 99.9% isopropyl alcohol, and then pre-tinning it with solder.
Wire PB and PL solder points.
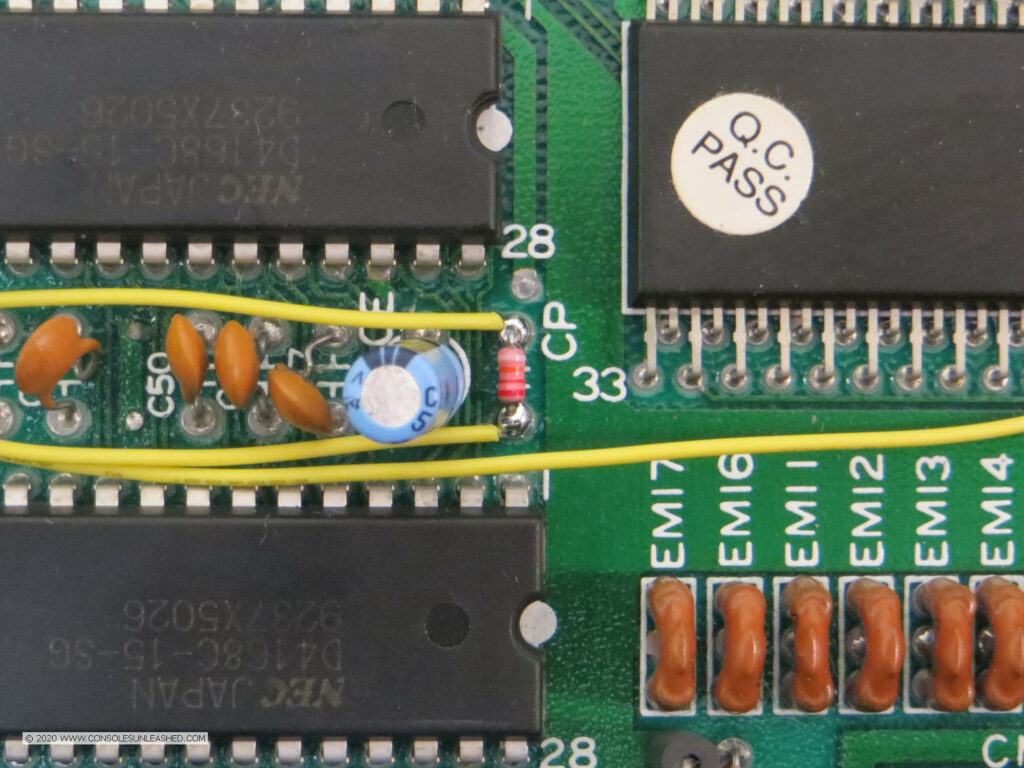
Wire 5V and GND solder points.
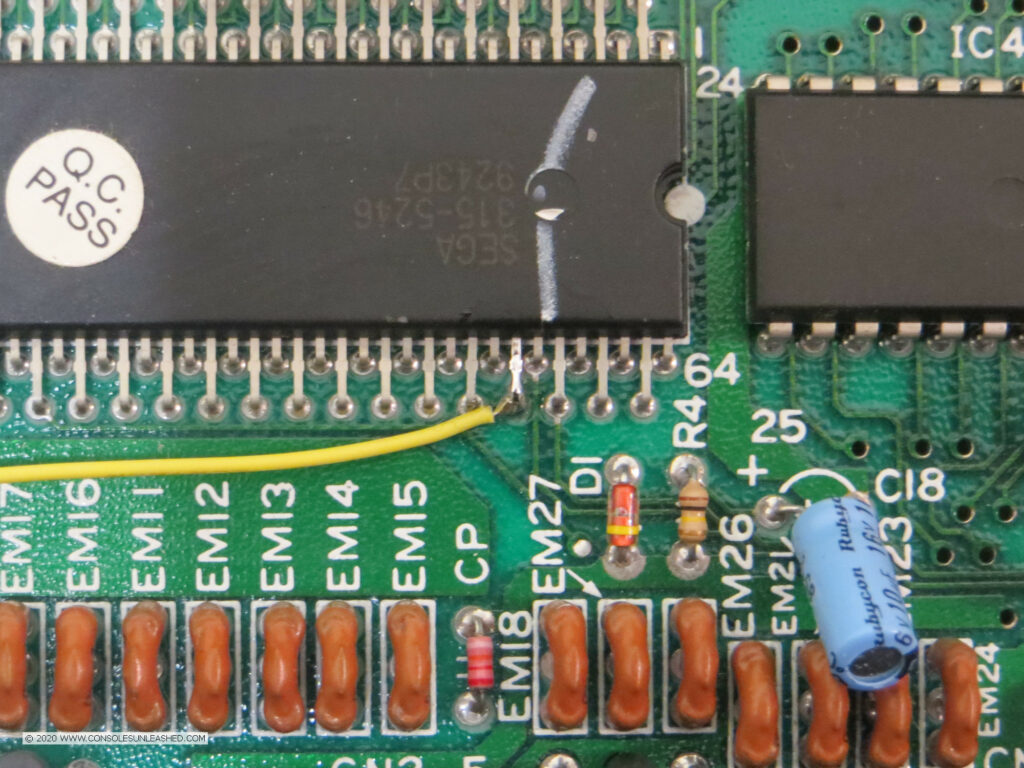
Wire the VID solder point.

RF Shielding Bend

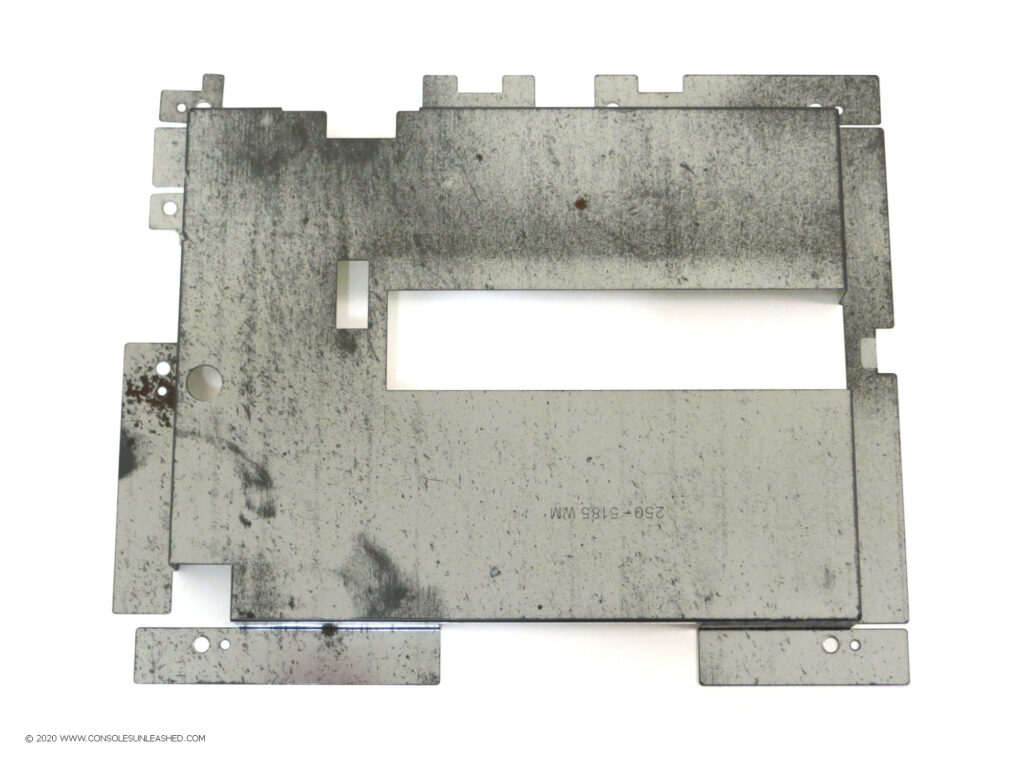
The top RF shield.
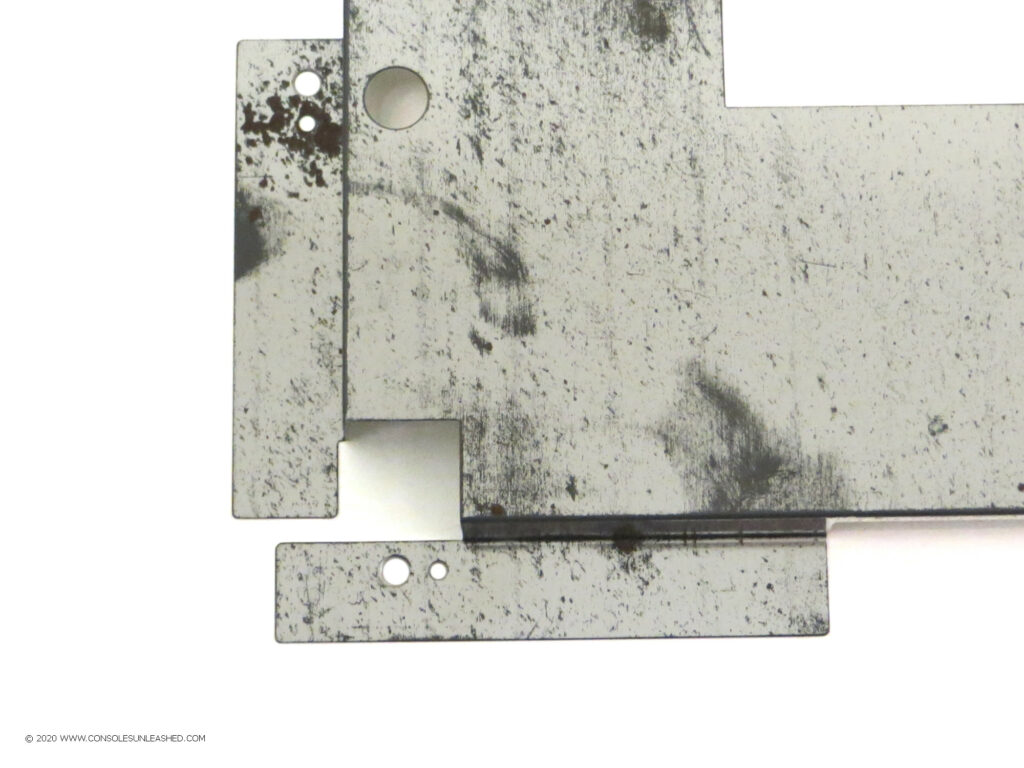
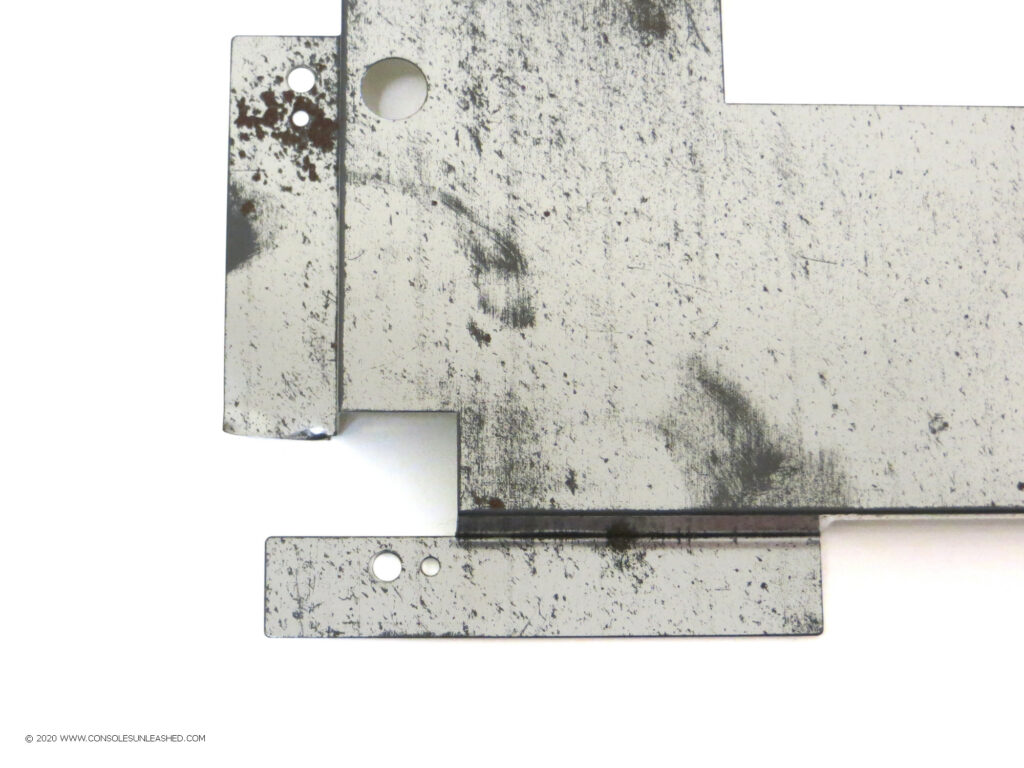
A small piece will need bending up 90 degrees from the bottom left corner.
Yes this shows a cut. A photo showing the bend will come soon.
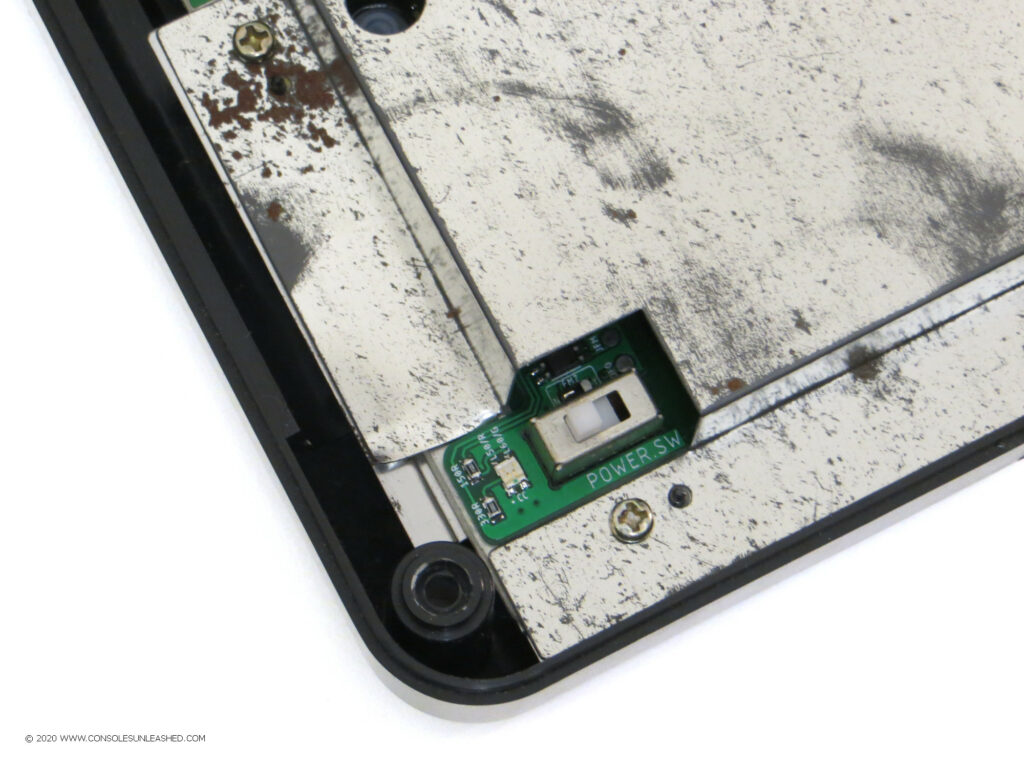
The RF shield will fit around the mod-board now.

LED Light-pipe Install

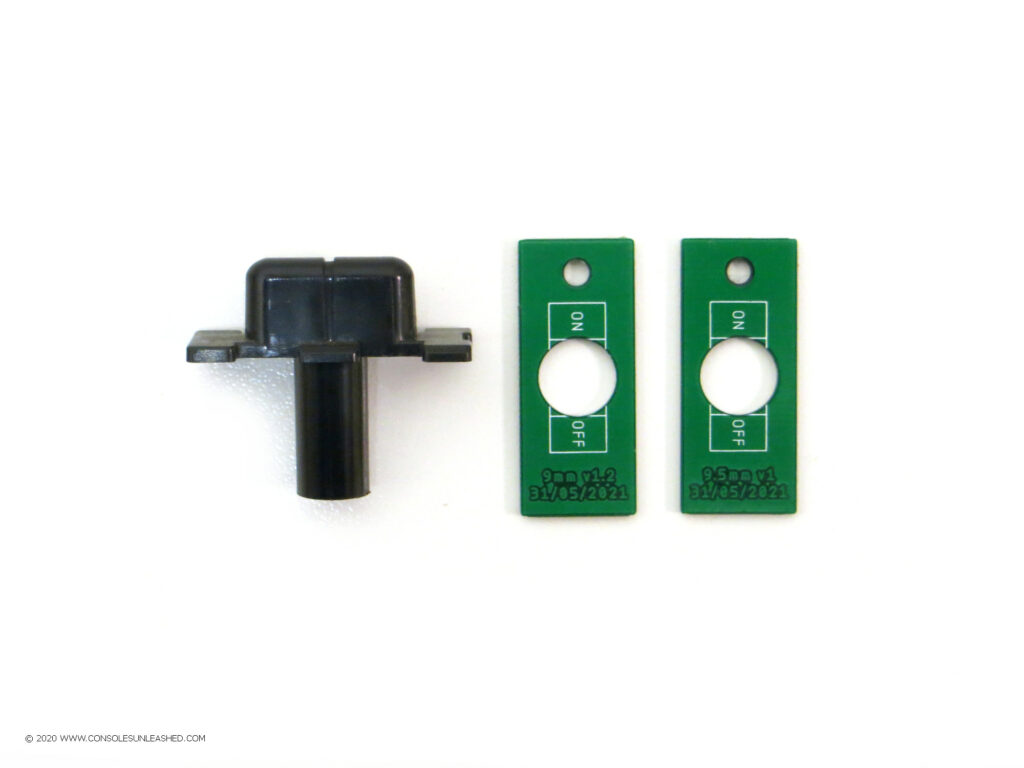
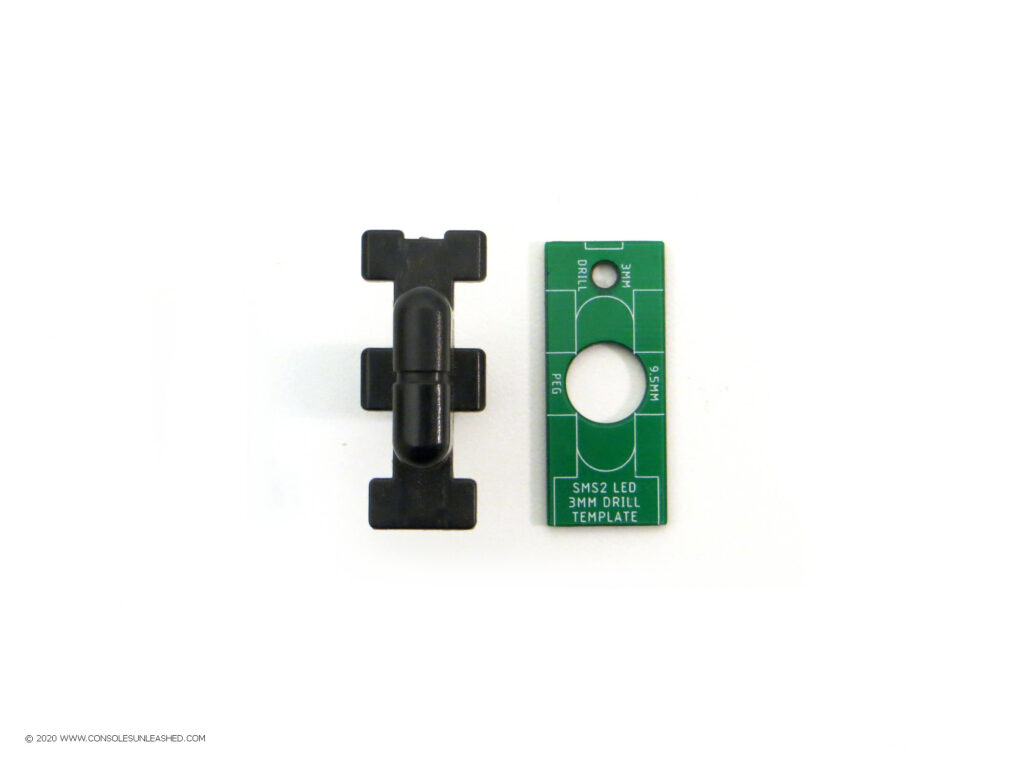
Identify which light-pipe drill template is needed. Use the smallest one that will fit over the power switch button post.
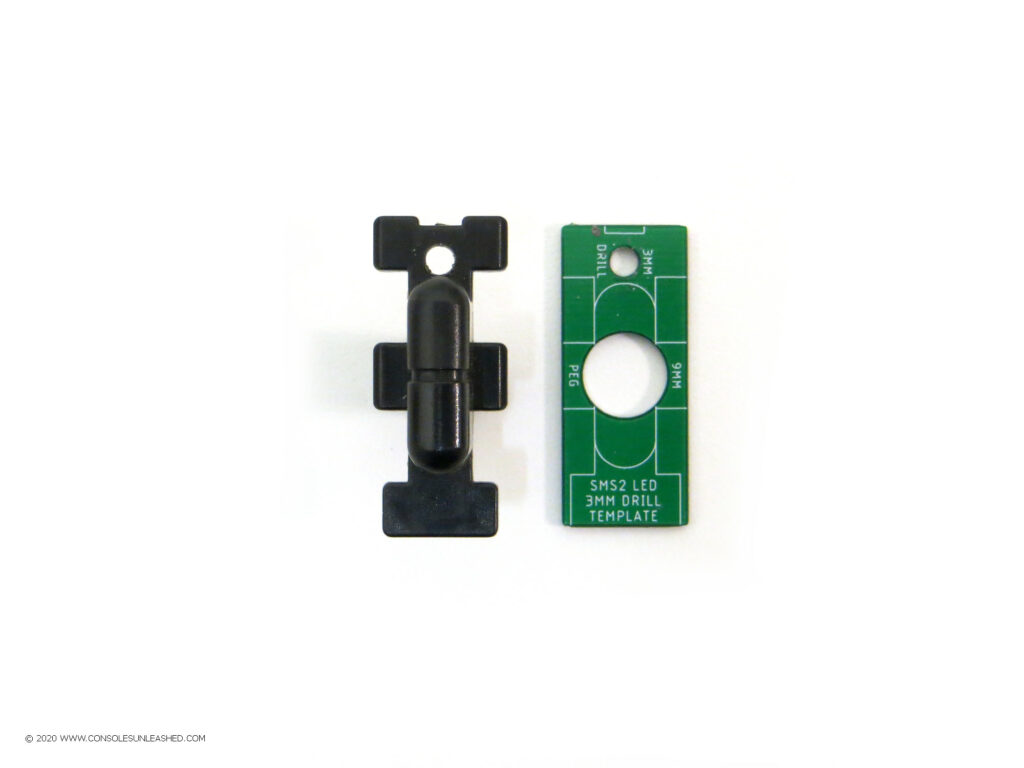
Make sure the drill template PCB is orientated correctly. Look at the white line pattern on the PCB. The drill hole goes at the wide end.
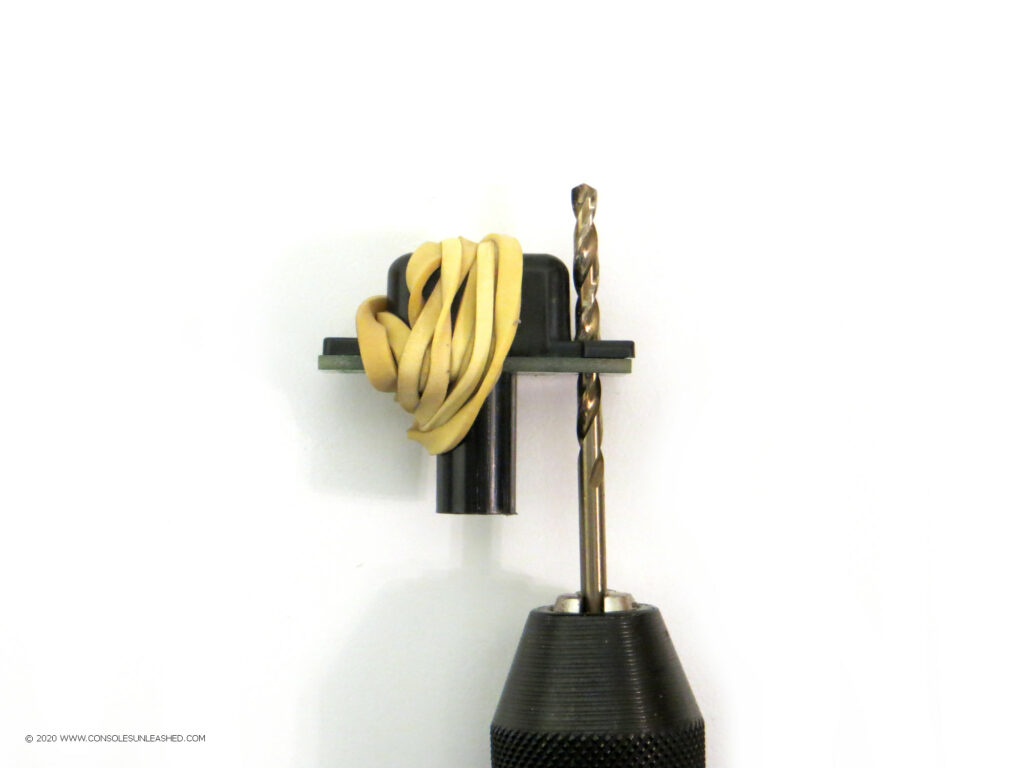
The drill template can be held in place with an elastic band or held by hand. Make sure the drill is held straight when making the hole.
A cleanly drilled 3mm hole which should align perfectly with the LED on the mod-board.
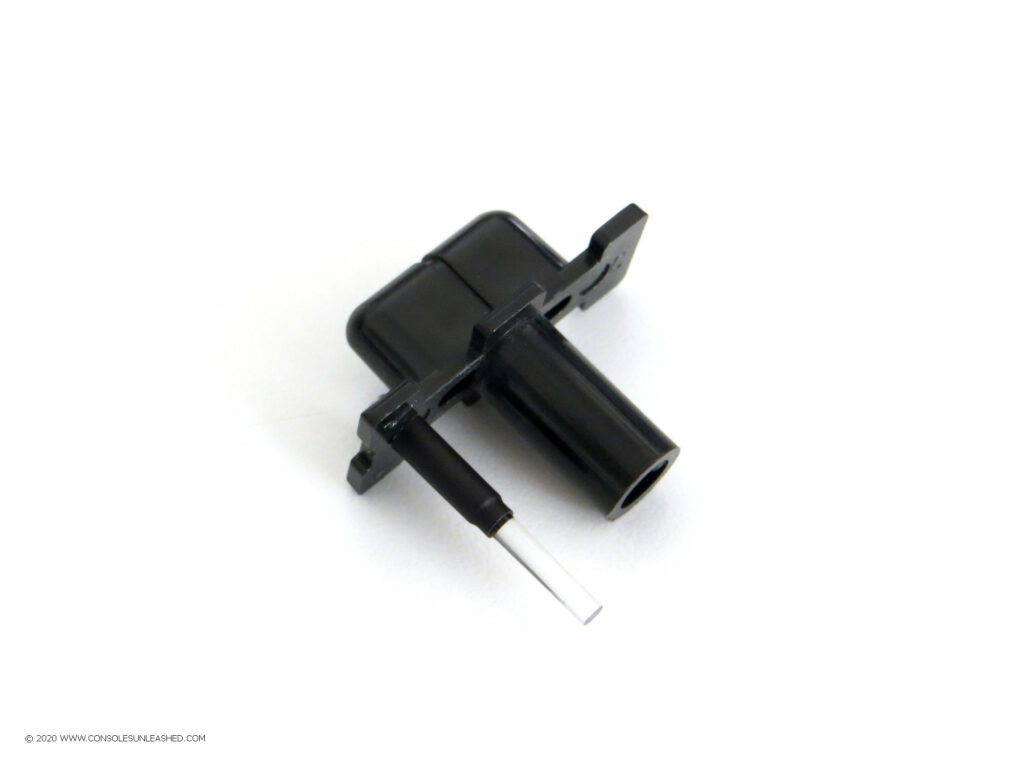
Some heatshrink tube can be placed around the light-pipe to help secure it in place.
Quick test showing the alignment of the light-pipe with the LED. It does not have to be perfect. Even a wonky light-pipe will transfer a lot of light from the LED.
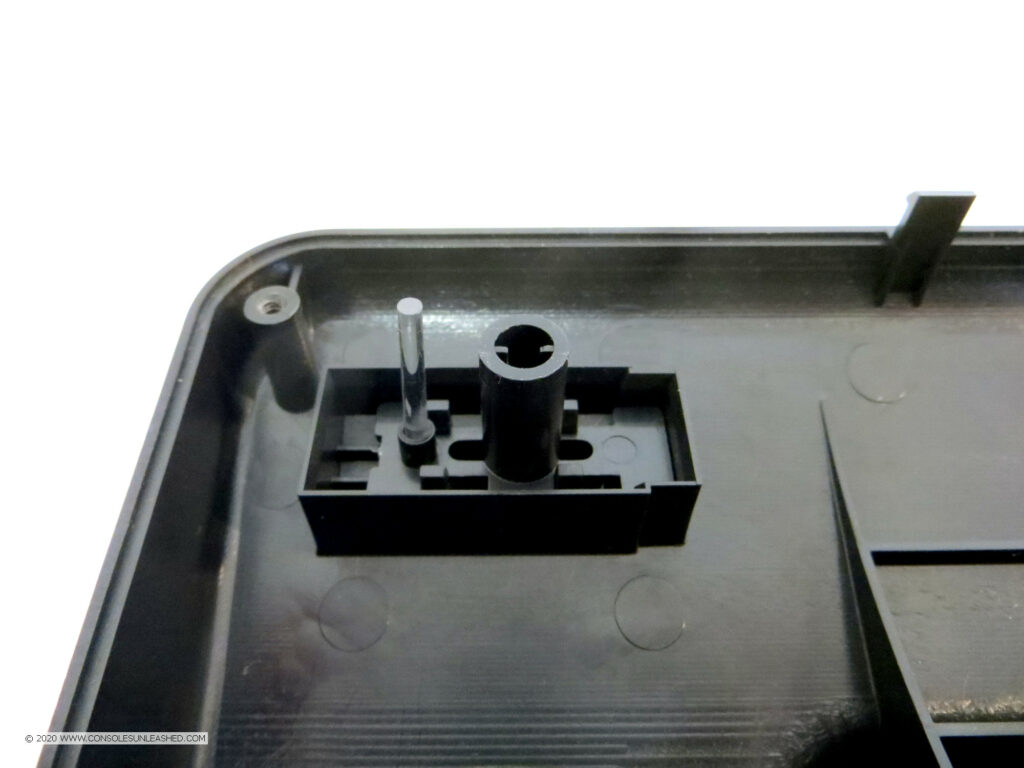
Installed light-pipe from the bottom.
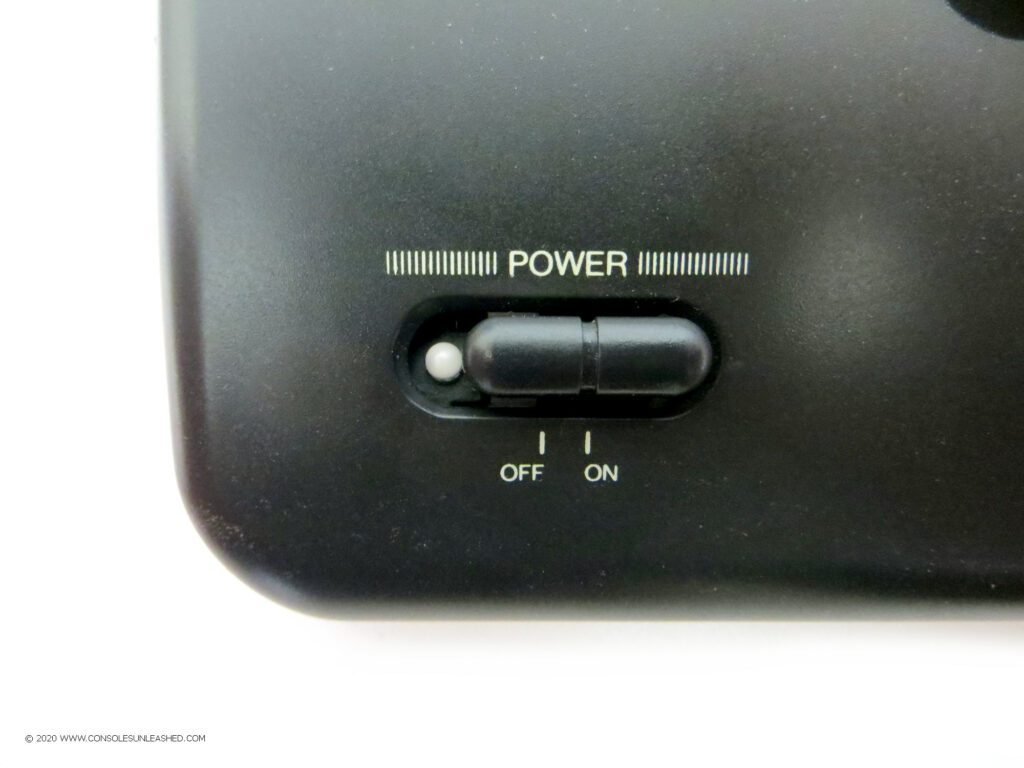
Installed light-pipe from the top.
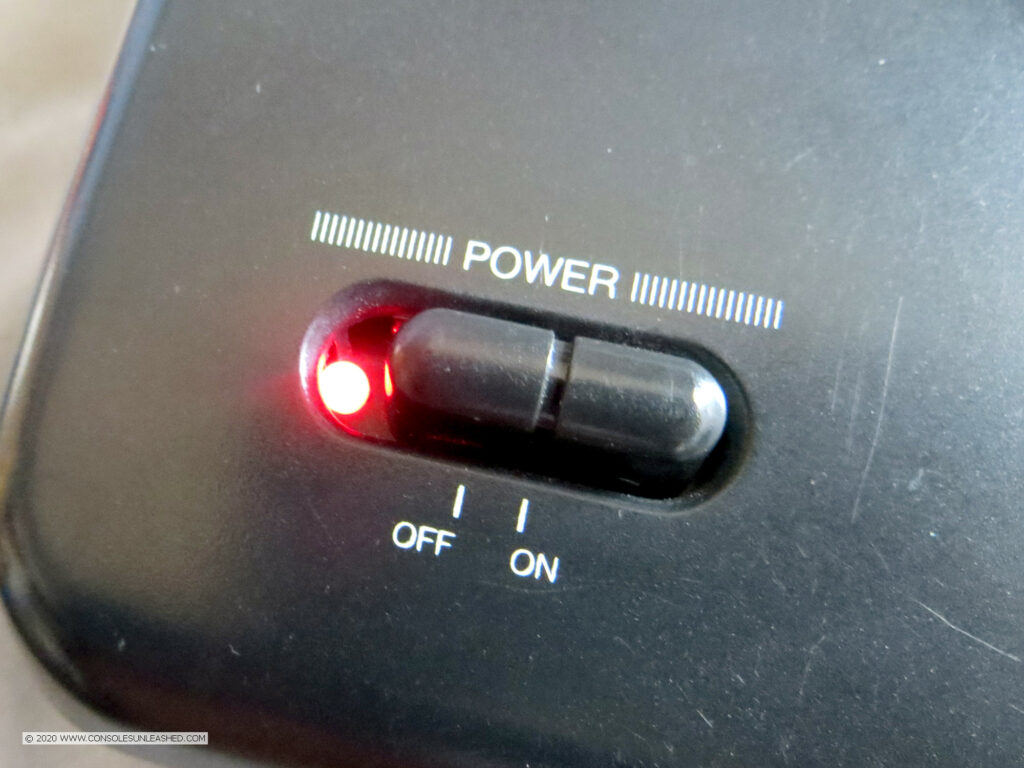
Red LED is for 50Hz.
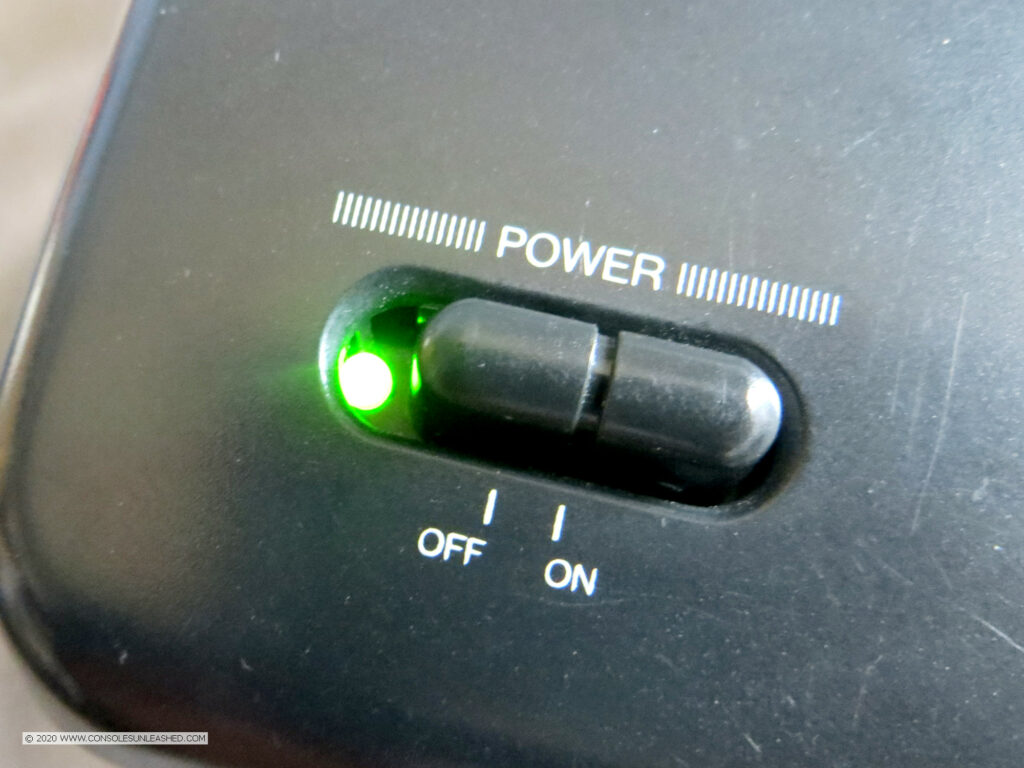
Green LED is for 60Hz.